
Premium Bathroom Tiling on the Sunshine Coast: What Actually Changes (and What Doesn’t)
Premium bathroom tiling can make a Sunshine Coast home feel calmer, brighter, and oddly more “finished” in a way paint and new tapware rarely manage. But here’s the thing: it only transforms a bathroom when the tile choice and the installation are doing the heavy lifting together. Fancy surfaces slapped onto a questionable substrate? That’s not premium. That’s expensive regret.
One line I live by:
A bathroom is a wet room pretending to be a living space.
If you accept that, your tile decisions get sharper fast.
Why coastal bathrooms get picky about tiles
Humidity is a given. Salt hangs in the air. Sunlight is harsher than people expect, especially in north-facing bathrooms with big glazing. If you’re after premium bathroom tiling Sunshine Coast solutions, remember that tiles in coastal homes aren’t just décor—they’re a protective skin.
Premium ranges tend to give you:
– Tighter manufacturing tolerances (edges are cleaner, sizing is consistent)
– More stable colour batches (fewer “why is that tile slightly different?” moments)
– Better glazing and body density (less staining, less water uptake)
And yes, the room looks better, mostly because grout lines are more uniform, layouts line up, and the finish reads intentional rather than “we grabbed what was on special.”
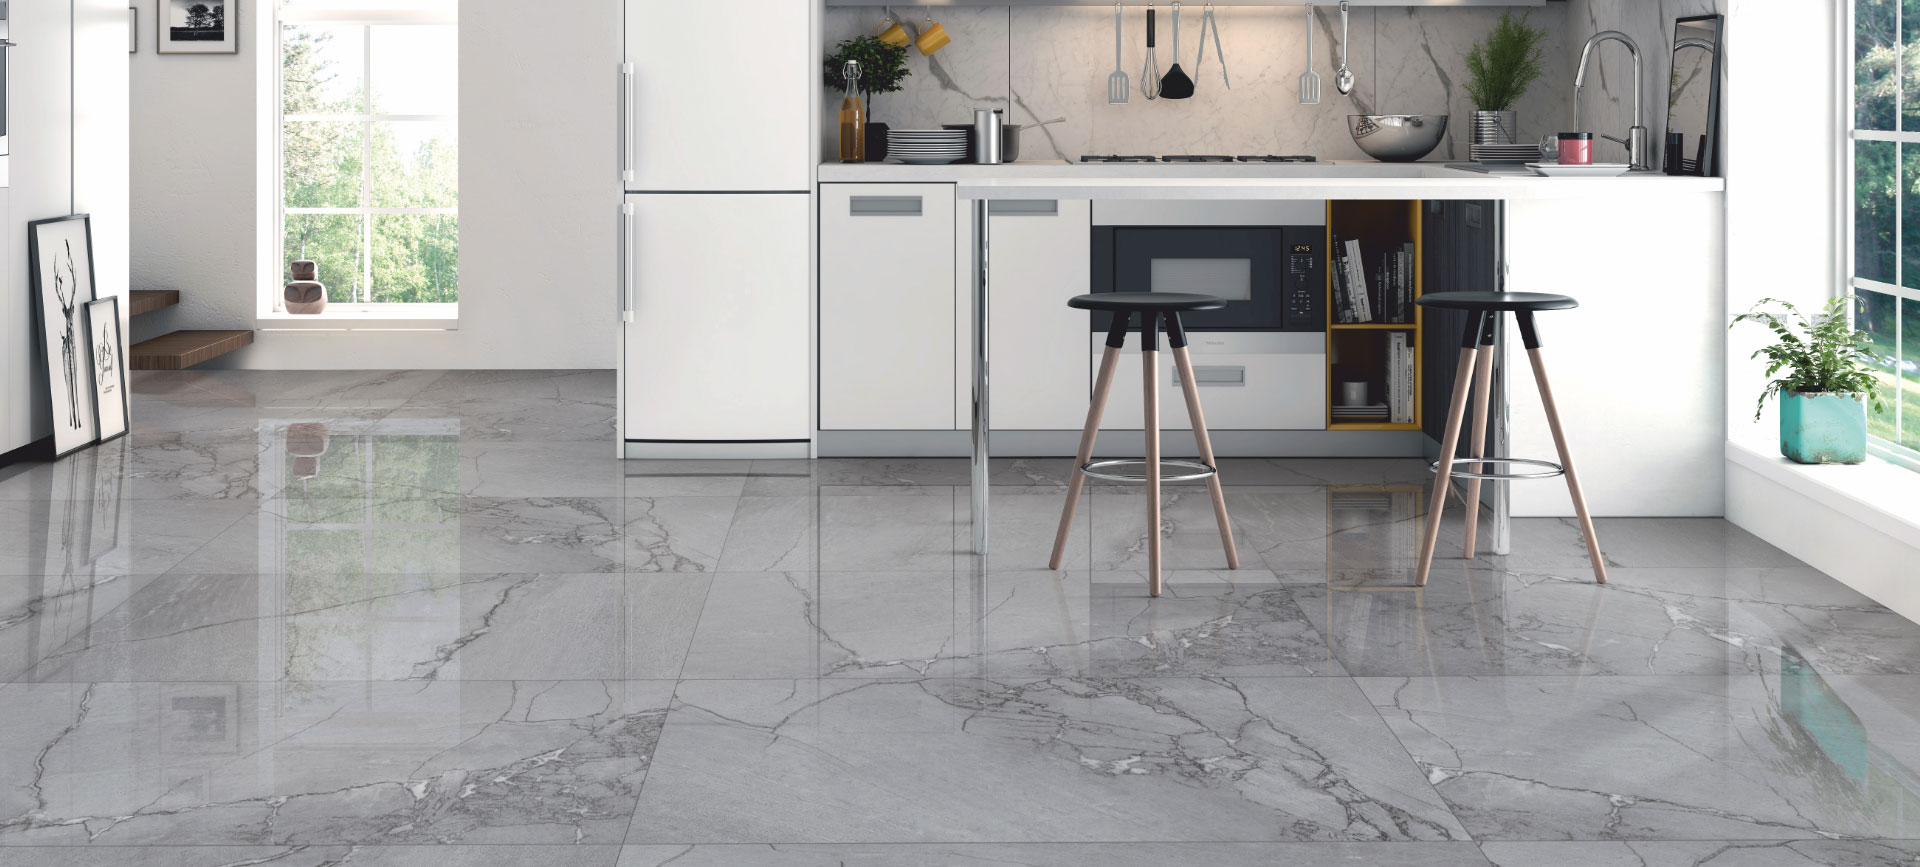
Hot take: big tiles are the fastest way to make a bathroom look expensive
Not always practical, but often true.
Large-format tiles reduce grout grid clutter, and in a bright coastal bathroom that matters. Fewer joints means fewer shadow lines. Less visual noise. More “gallery wall” calm.
That said, big tiles demand flatter walls and floors. If your substrate is out by even a few millimetres, you’ll get lipping that catches the light and annoys you forever (especially on satin finishes).
Coastal conditions: what your tiles must survive (no romance, just reality)
Moisture isn’t the villain. Movement is.
Moisture is predictable. Expansion, contraction, and building movement are where bathrooms fail.
Technically speaking, you want:
– Low water absorption tile bodies (porcelain generally wins here)
– A proper waterproofing membrane system compatible with the adhesive and substrate
– Movement accommodation joints placed where they’re meant to be, not “where they look bad”
Now, this won’t apply to everyone, but if your home’s older or you’re renovating over mixed substrates (say, old masonry plus new sheeting), movement management becomes non-negotiable.
Salt air durability (the quiet destroyer)
Salt doesn’t just “rust metal.” It creeps. It crystallises. It finds micro-gaps and carries grime with it. In showers and coastal-adjacent bathrooms, I’ve seen mediocre grout gradually darken in a way clients swear is “mould” (sometimes it is, often it’s staining plus soap plus salt residue).
Dense glazed tiles help. So does choosing grout that doesn’t act like a sponge.
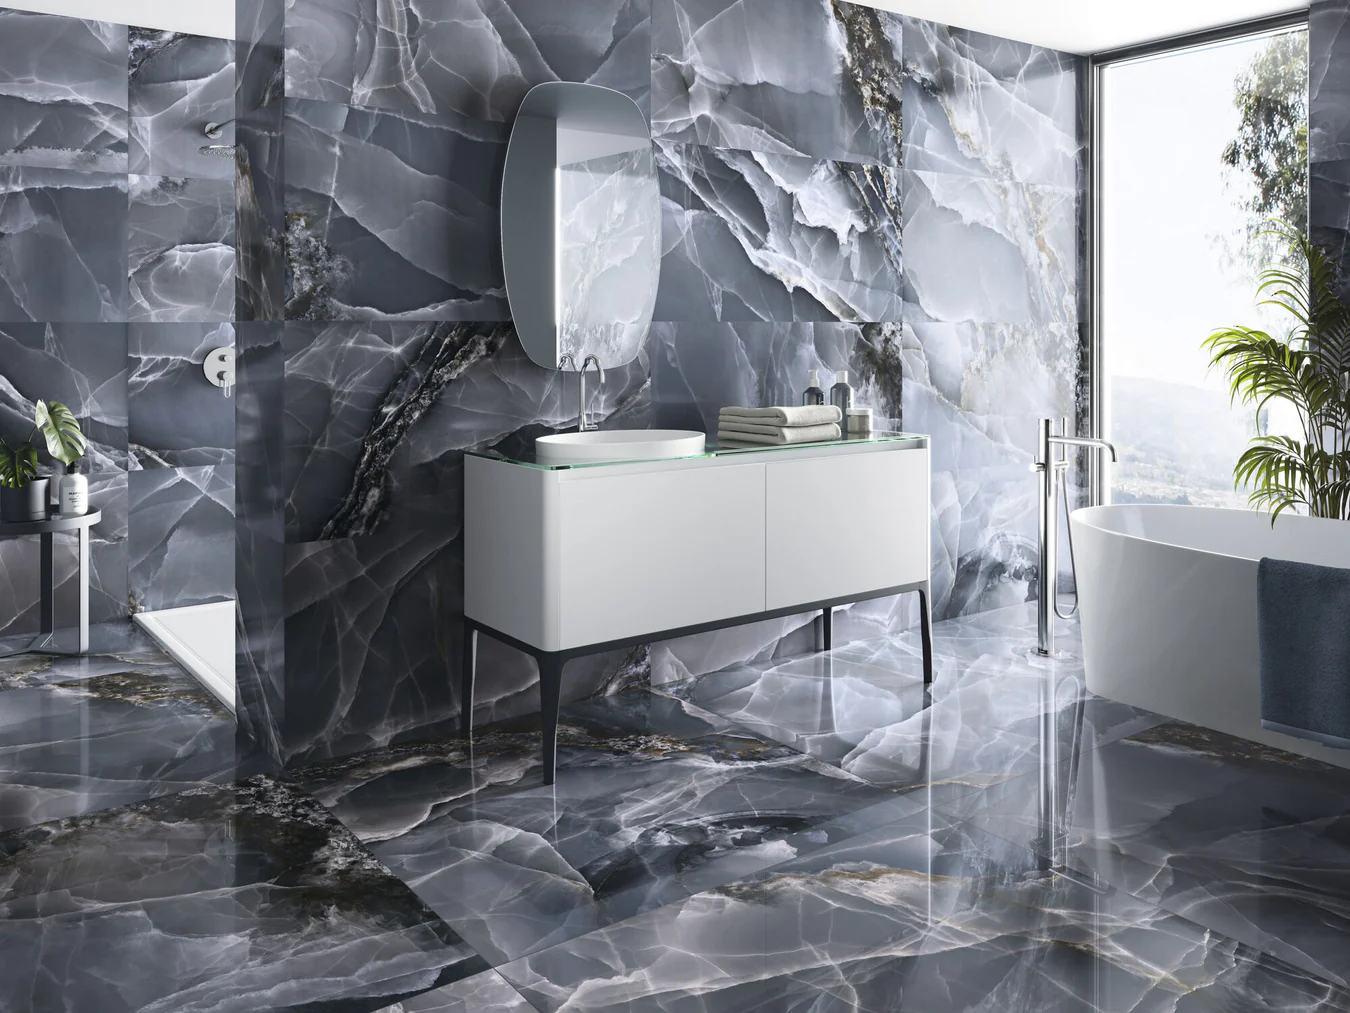
Materials: porcelain, ceramic, stone (and the truth about each)
Porcelain vs ceramic: the straight answer
Porcelain is generally denser, less porous, and more stain resistant. Ceramic is often cheaper, sometimes easier to cut, and can look fantastic on walls if the bathroom isn’t being treated like a day spa / kids’ splash zone combo.
If I’m specifying for a family bathroom on the Coast, I lean porcelain for floors and shower zones. Ceramic can still shine on feature walls where it’s not living a hard life.
Natural stone (beautiful… and needy)
Stone is tactile and real and, in the right bathroom, unbelievably good-looking. It’s also maintenance. You’re not “buying a finish,” you’re adopting a material.
In my experience, stone works best when you:
– keep it away from constant shampoo overspray zones where possible
– choose honed or textured finishes for slip resistance
– commit to sealing on a schedule (and accept that schedules get ignored)
Travertine and limestone can be dreamy in coastal light. Marble can be spectacular. All of them need a homeowner who won’t pretend maintenance doesn’t exist.
Budget-friendly, but don’t cheap out where it counts
You can get a high-end look without premium-everything if you allocate money like a grown-up:
– Spend on waterproofing, adhesive, grout, and labour
– Save by using a hero tile sparingly (niche, vanity splashback, one feature wall)
– Use larger “stone-look” porcelain for the rest
Look, I’ve seen $40/m² tiles installed beautifully beat $140/m² tiles installed poorly. Every time.
One stat, because it matters: bathrooms and moisture aren’t negotiable
In Australia, waterproofing in wet areas is governed by AS 3740 (Waterproofing of domestic wet areas), which sets out requirements for bathrooms, showers, and other internal wet zones. If your installer isn’t working to that framework, you’re gambling with the structure of the room, not just the look.
Source: Standards Australia, AS 3740.
Colour, texture, pattern: brightness tricks that don’t feel like “tricks”
Light coastal bathrooms aren’t just white tiles everywhere. That can end up looking clinical, especially with cool LEDs.
A few combinations that repeatedly work on Sunshine Coast homes:
1) Soft warm whites + matte finish
Matte doesn’t glare, and in bright Queensland light that’s a blessing.
2) Pale sand / greige tiles + slightly darker grout
This adds definition without turning the bathroom into a grid.
3) Texture in one place only
Ribbed tile in the shower, smooth tile elsewhere. Or vice versa. Restraint is what makes it feel premium.
Pattern is powerful, but it can also cheapen a space fast. One strong motif is usually plenty (niche, floor, or a vanity wall). Scatter it everywhere and the room loses that calm coastal read.
Layout choices that make bathrooms feel bigger (without building work)
You don’t need a new footprint to change the feel. You need better sightlines.
– Put the clearest visual path from door to the brightest wall.
– Use frameless or semi-frameless glass so the shower doesn’t block light.
– Horizontal tile stacking can visually widen narrow rooms.
– Recessed niches beat bulky shelves (and they’re easier to keep clean).
A quick opinion: if you’re fighting humidity, avoid oversized closed cabinets crammed into corners. Air needs to move, and bathrooms on the Coast punish stagnant pockets.
Budgeting & timeline: what usually blows out (and why)
Tile projects don’t run late because tiles are hard. They run late because:
– feature tiles are backordered
– waterproofing needs cure time
– substrates are worse than expected once demolition starts
A sensible plan includes a buffer for “we found…” moments. Because you will find something.
Also, don’t pretend sealing and detailing are optional line items. They’re what keep the bathroom looking new when the novelty wears off.
Choosing a tiler: questions that separate pros from smooth talkers
Some installers are artists. Some are fast. A few are both. Ask questions that force specifics, not vibes.
Good questions (and yes, you can be blunt):
– “What waterproofing system are you using, and is it compatible with this adhesive and tile?”
– “How are you handling movement joints, and where will they go?”
– “What grout are you specifying for the shower floor, and why that one?”
– “Can I see a recent bathroom you’ve done with similar tile size and finish?”
– “What happens if the substrate isn’t flat, are you allowing to correct it properly?”
If they get defensive, that’s useful information.
The real “premium” result
Premium bathroom tiling in a Sunshine Coast home should feel like this: light moves smoothly across surfaces, nothing looks fussy, grout lines behave, and the room still looks sharp after a wet summer.
Not flashy.
Just quietly correct.